Operating Systems. Part 2 — “Ventoy” 🚀
In the previous article we made a bootable USB, plugged it into a colleague’s PC, and slightly shook their belief in “GUI only, nothing else” 😏
Alright, let’s be nice and give them Windows back. But we’ll do it properly: not one OS per drive, but Ventoy with a bunch of ISOs on a single stick. I mean, dedicating 64 GB to one image (that’s < 2 GB anyway) is kinda lame 🙃
Ventoy is a free, open‑source tool that makes a USB drive bootable so you can just copy ISO / WIM / IMG / VHD(x) / EFI files onto it and pick one from a menu. Chef’s kiss ❤️
Plan
-
Hop into Windows and grab our USB stick.
Format it as usual. Nothing fancy here.
-
We already have the Arch Linux ISO from the previous article.
If not — download it first. (And yes, the Arch Wiki is sacred 🔥)
-
Get Windows ISOs.
And here come the hoops… Since around 2022, Microsoft limited direct ISO downloads for some regions. So “just from the site” doesn’t work — even with those three magic letters 😑

Torrents? Not a fan (don’t fully trust even rutracker for this) — too much junk. Let’s use an official route instead.
-
Media Creation Tool — our savior.
It’s Microsoft’s own utility that prepares Windows 10/11 install media directly from their servers and without a product key. The tool itself might be geo‑restricted — GitHub to the rescue:
👉 Repo: https://github.com/AveYo/MediaCreationTool.bat
Click Code → Download ZIP, grab the archive and unpack it anywhere.
⚠️ You may need those three letters (you know which). There won’t be a guide on that — current realities and all that. Whether the batch works for you without them — try and see.
-
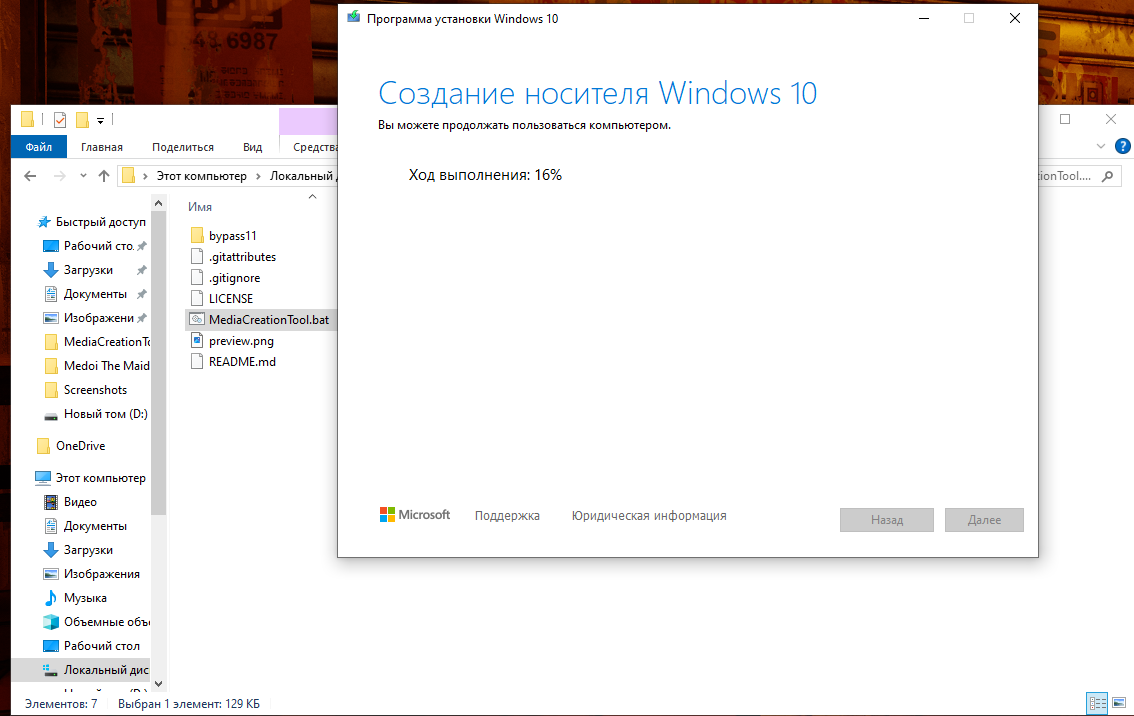
Run the script.
Open
MediaCreationTool.batfrom the extracted folder.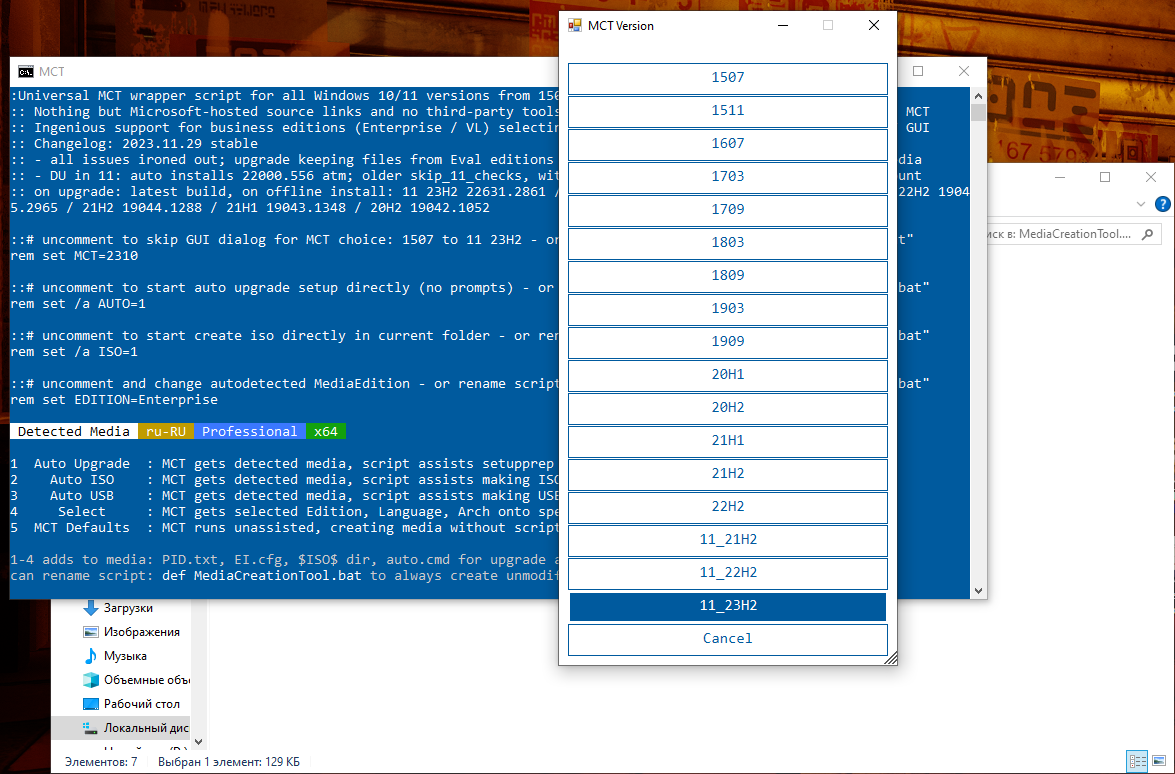
-
Windows 10: pick 22H2 — still the most stable and comfy in my book. Shame support isn’t forever 🥲
-
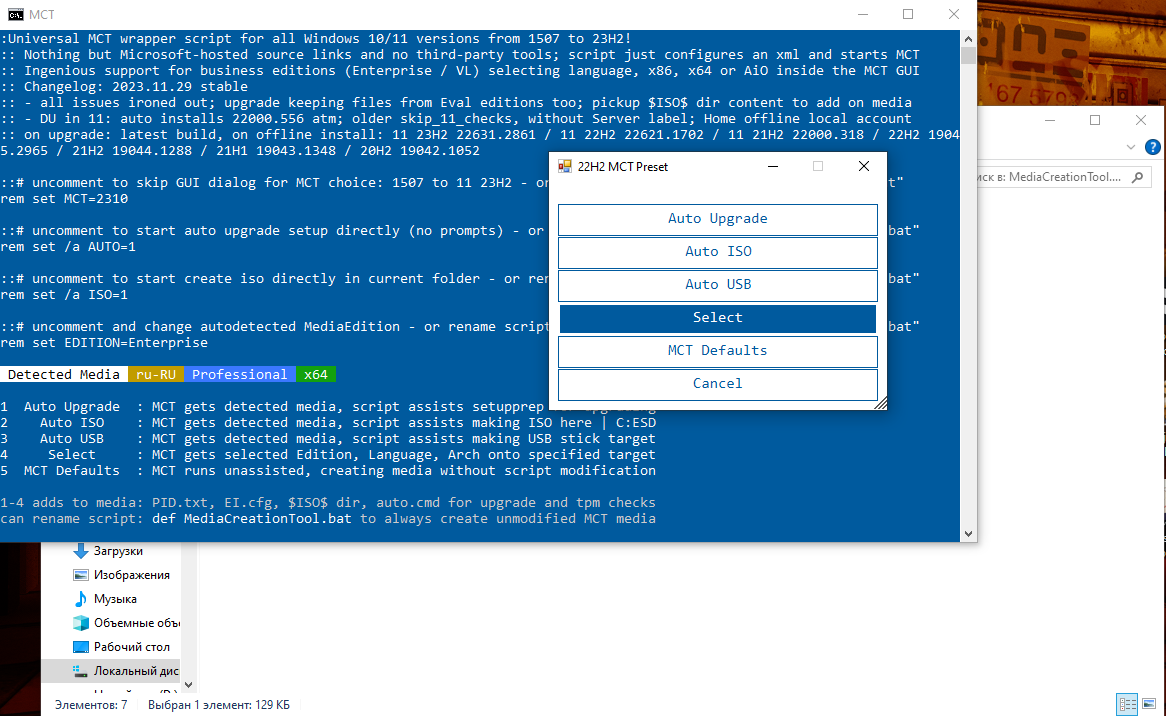
Hit Auto ISO.
The script will start downloading automatically into a standard folder (usually drive
C:) if you ran it straight from the archive; otherwise into the extracted folder. Just wait… ⏳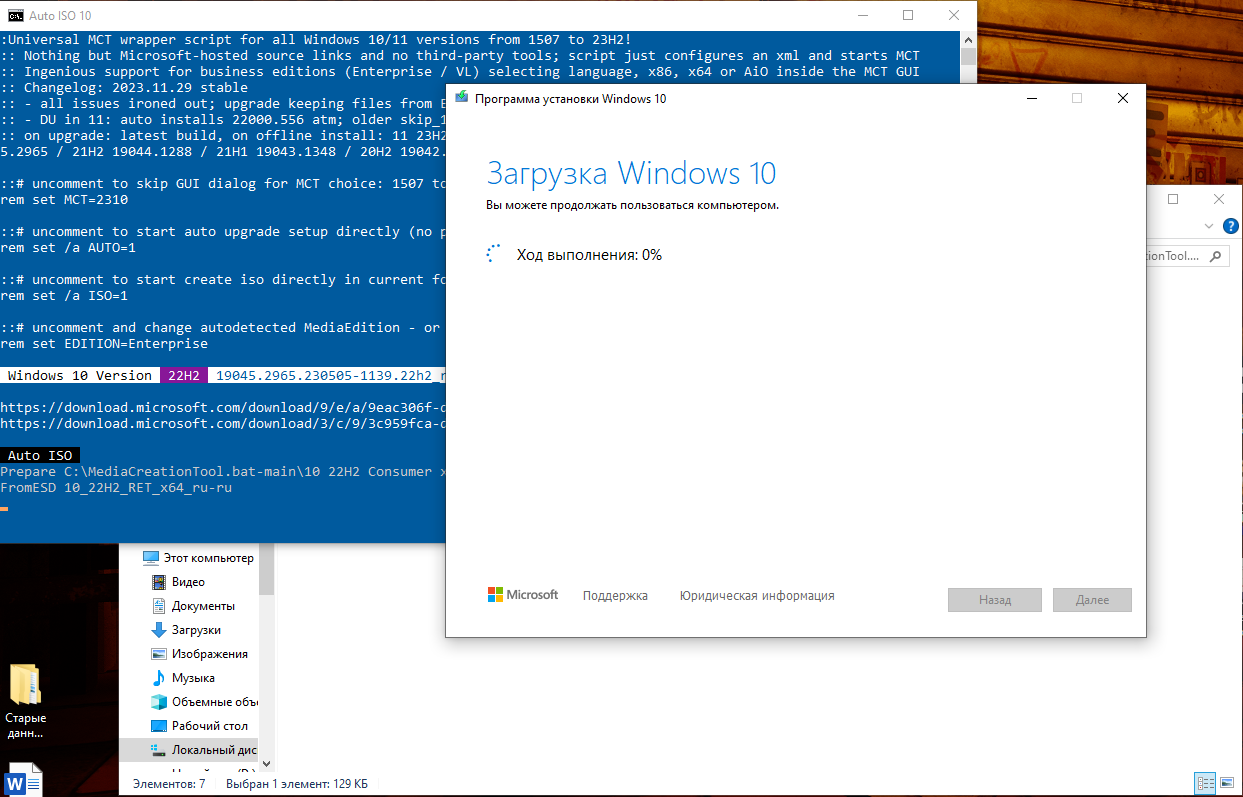
-
Windows 11: same dance. Run the script again, choose the latest
11_23H2→ Auto ISO → wait.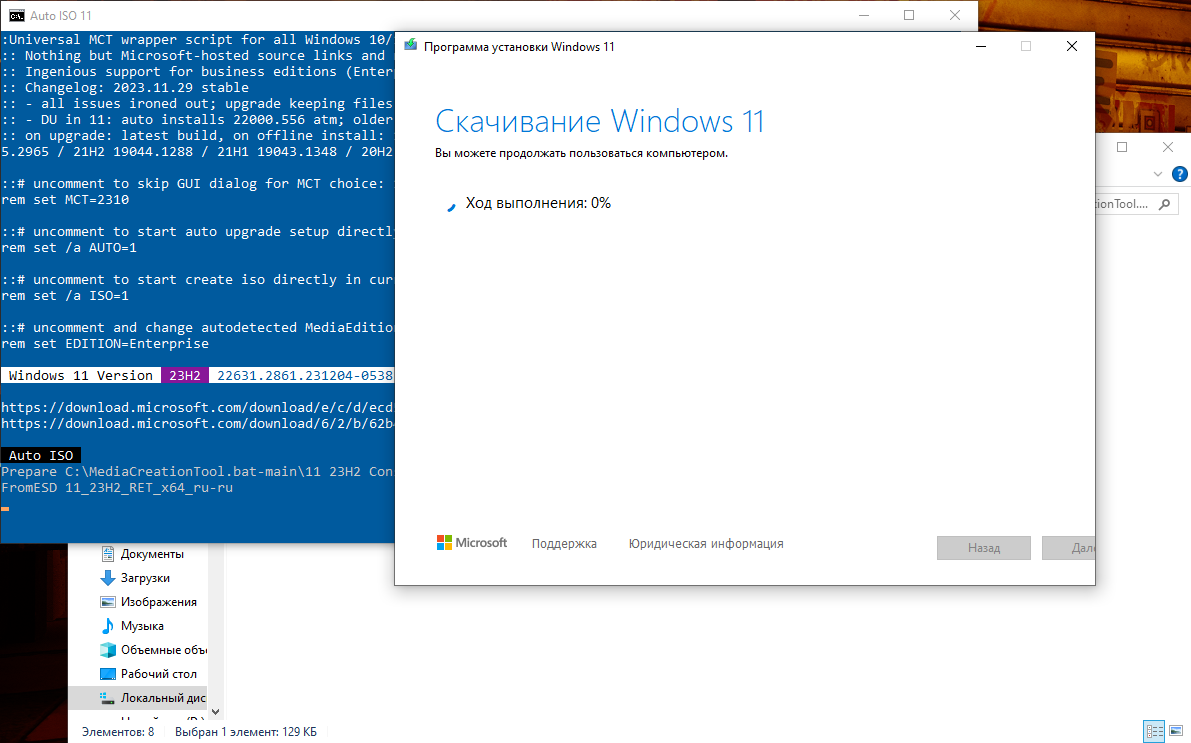
-
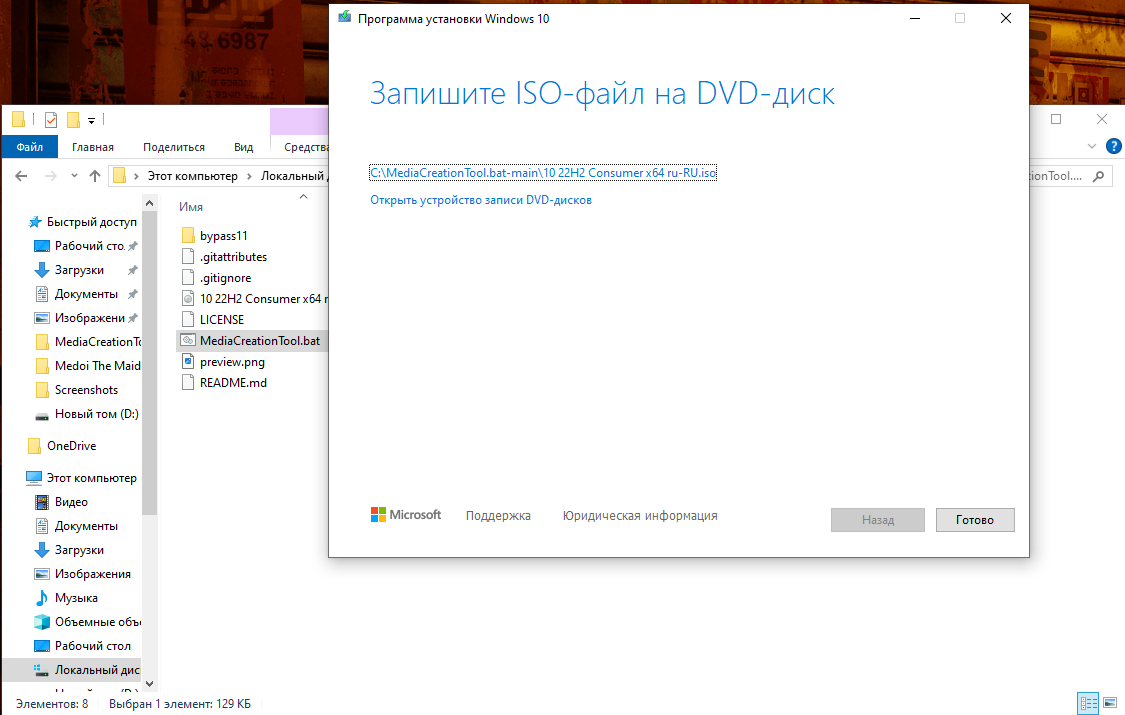
Microsoft ISO recap.
We end up with two ISOs on disk: Windows 10 (22H2) and Windows 11 (23H2).
Took about 30 minutes for both here. Your mileage may vary — bandwidth roulette ⚡
-
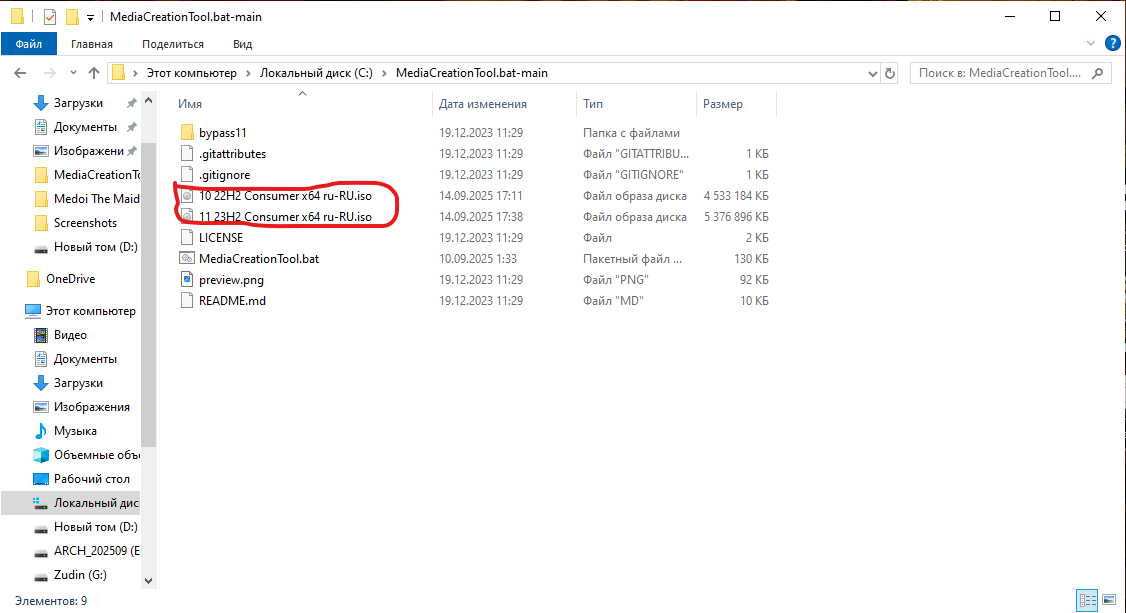
Grab Ventoy.
Now we have three ISOs: Arch Linux, Windows 10 22H2, and Windows 11 23H2.
Time for Ventoy: 👉 https://ventoy.net
Go to Downloads, fetch the ZIP, unpack it.
-
Run
Ventoy2Disk.exe.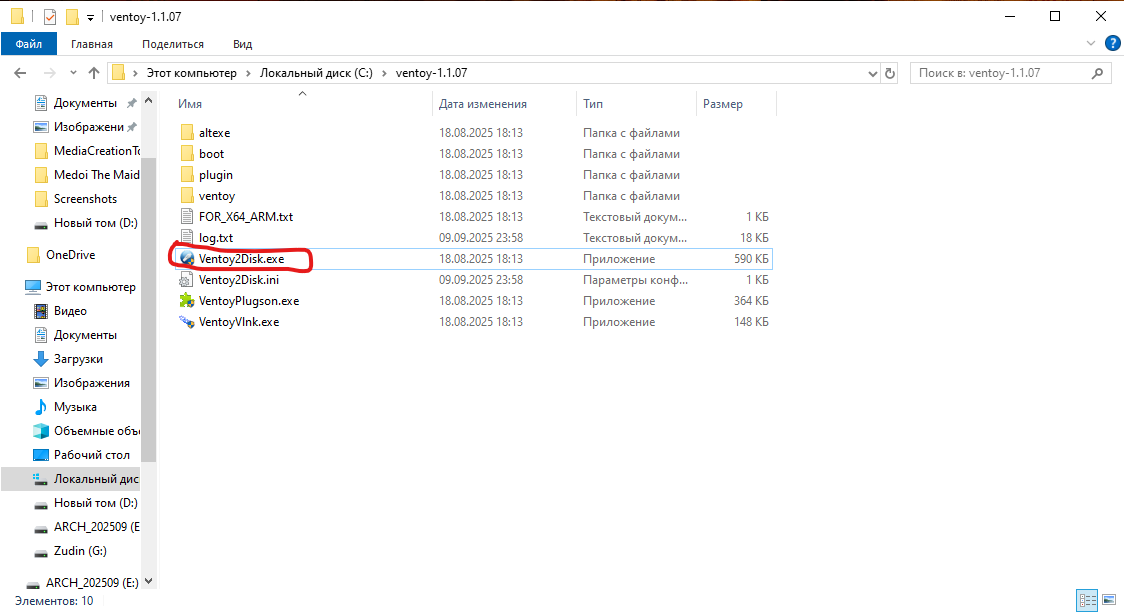
-
Pick the right USB drive → hit Install → wait.
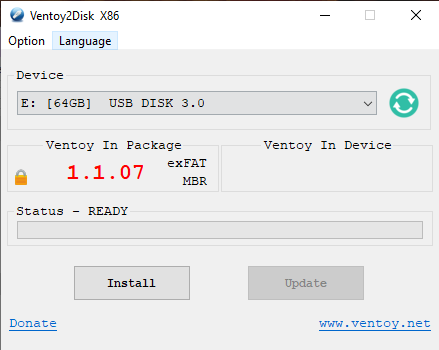
⚠️ Important: Ventoy will repartition the device. Everything on it will be gone. Triple‑check the correct drive letter. Don’t be like me 🤡
-
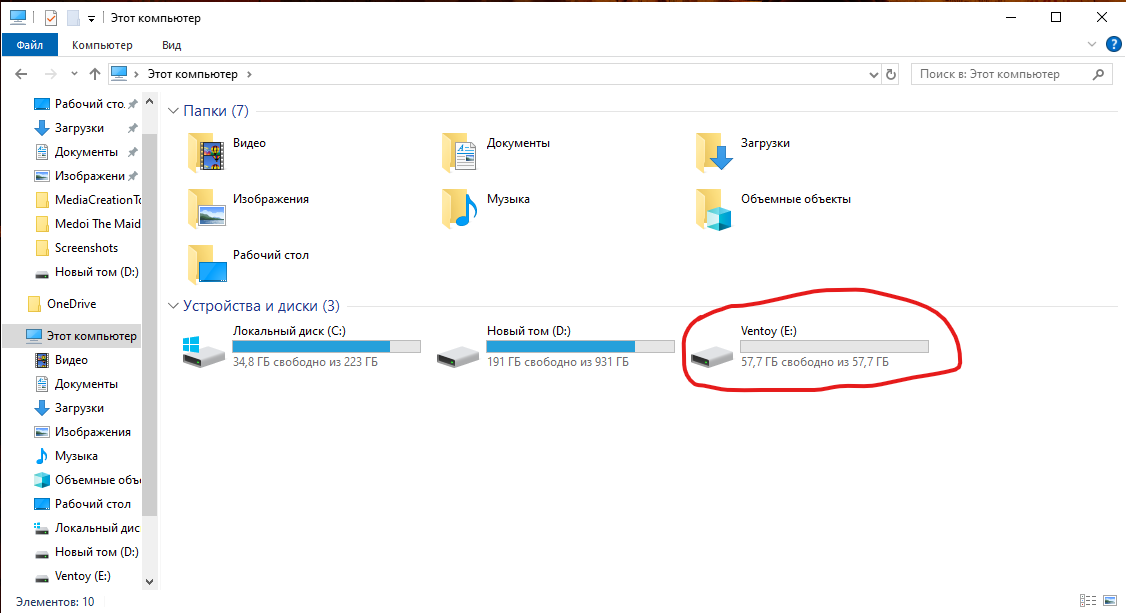
Verify the installation.
After installation the drive label will be Ventoy — that’s your green light ✅
-
Copy ISOs onto the USB.
Copy all three ISOs to the USB. Just drag & drop — no “write image” wizardry or other rituals.
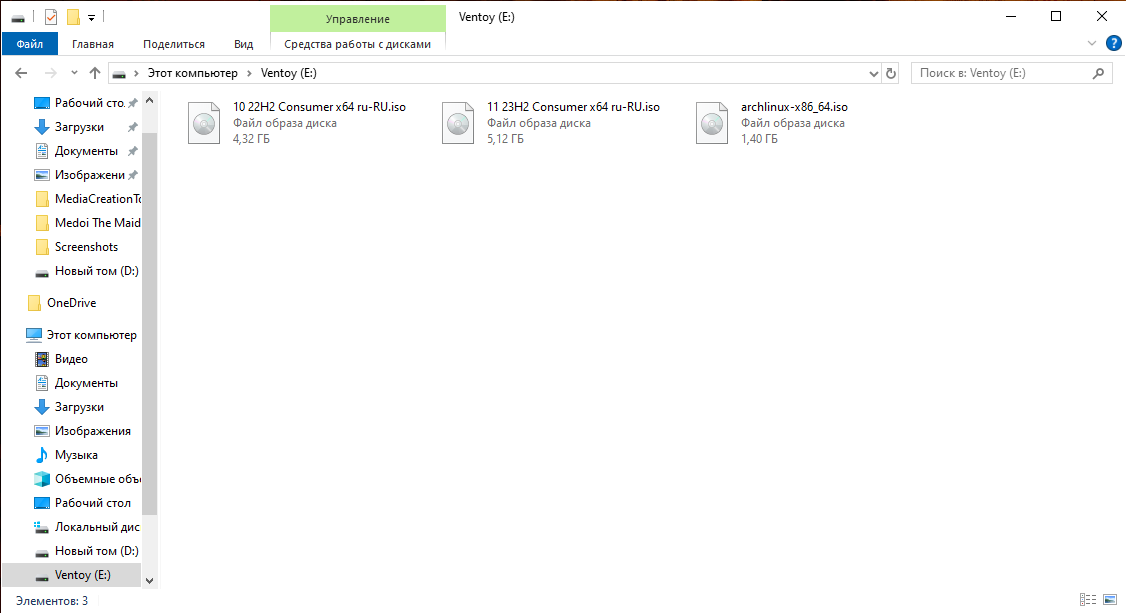
Took another ~30 minutes 🙂 Note the total size — Windows ISOs are chonky.
-
Boot with Ventoy.
Reboot and boot from the USB (see last article for picking the Boot Menu). You’ll see Ventoy’s menu:
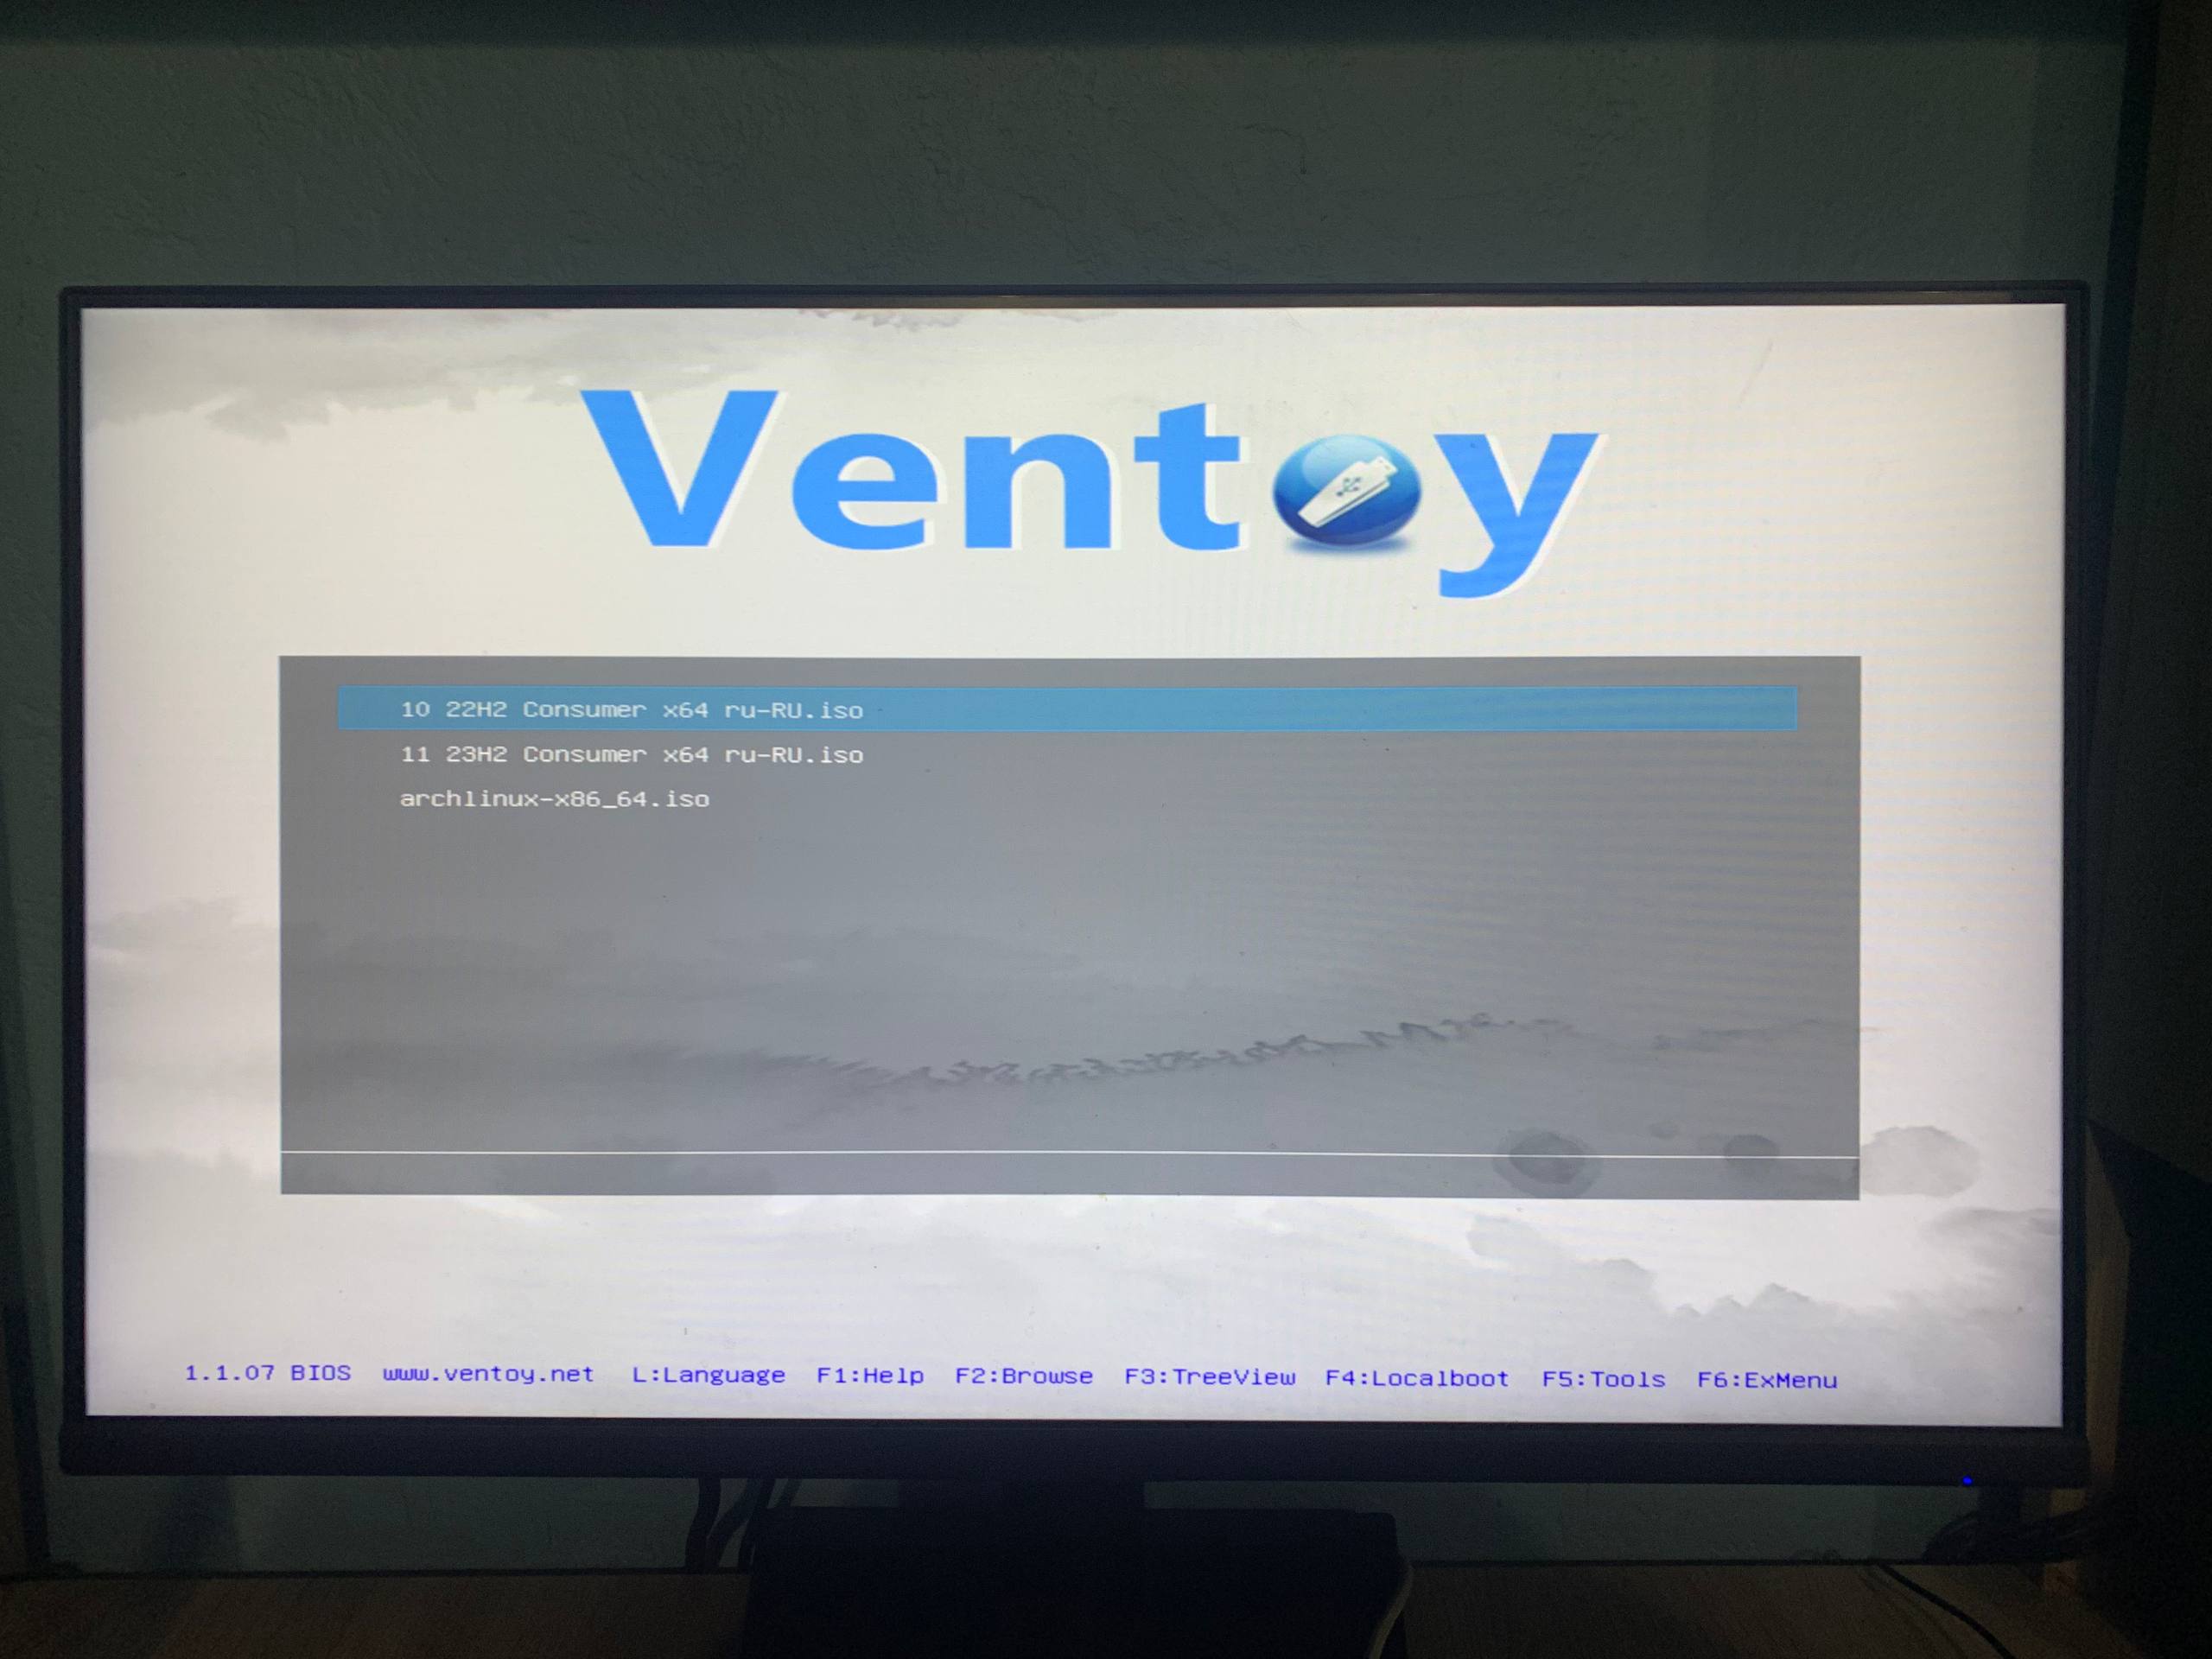
Sorry — taking a proper screenshot here is basically impossible
¯\_(ツ)_/¯ -
Test‑boot each image.
Arch Linux:

Windows 10 22H2:
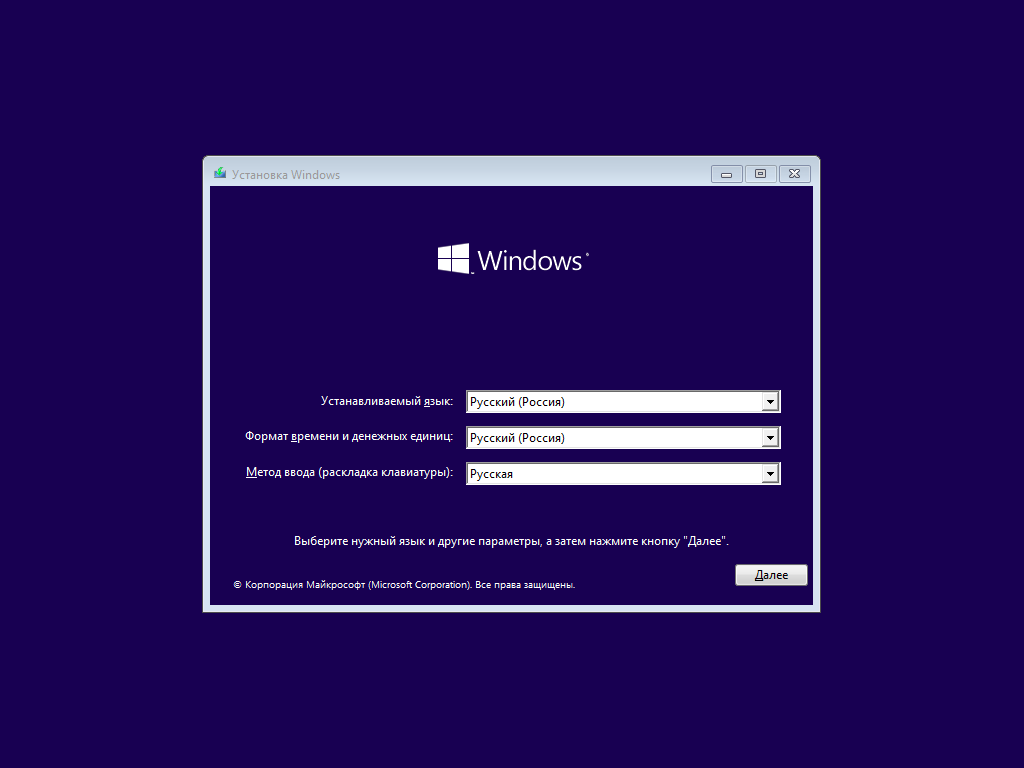
Windows 11 23H2:
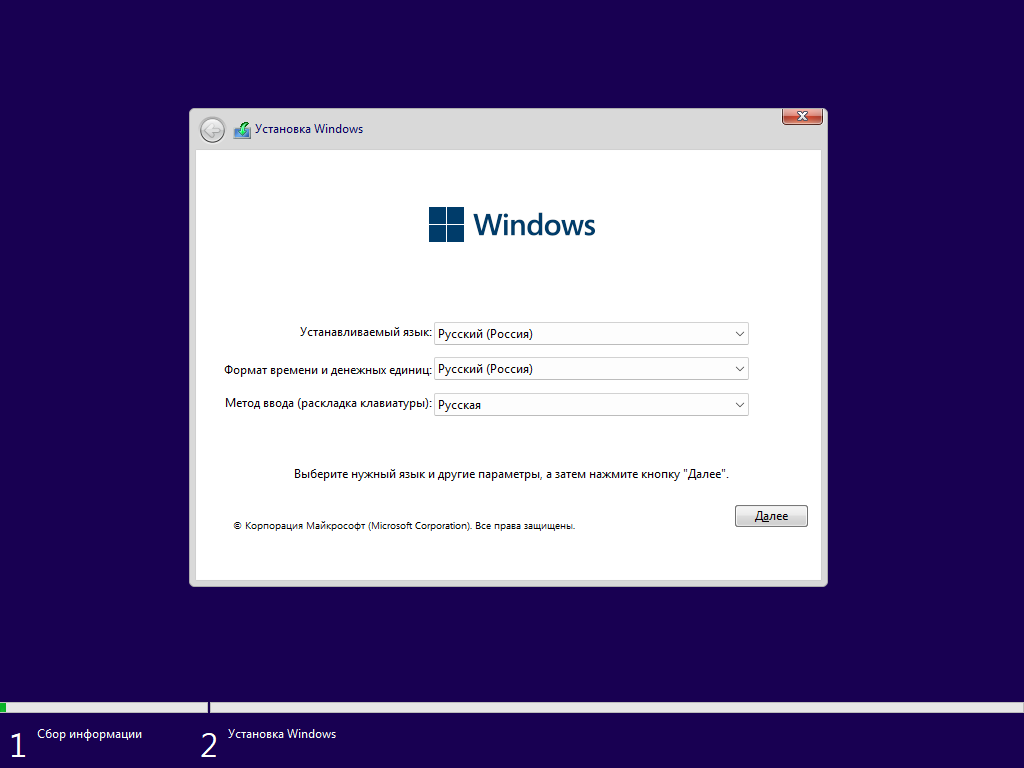
Everything launches — beautiful! 🎯
Result
Now we’ve got a universal USB: install Linux, restore Windows, and look like someone who plans ahead 😉
Ventoy is something I carry with me all the time.
You can toss more distros on it (say, Debian) — always nice to have options.
Cheers! Arch Linux installation — in the next article 🖤🐧